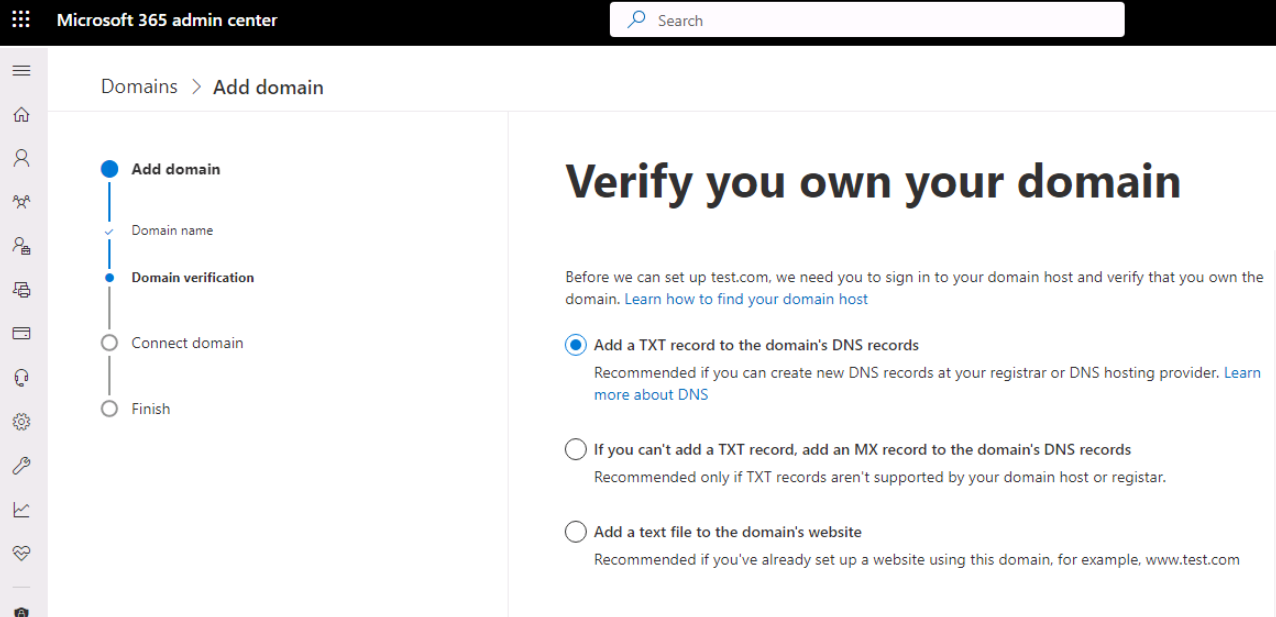
To add a custom domain to Office 365, you need to first verify that you own the domain. This is usually done by adding a specific record to your domain’s DNS records. Once you have verified your domain, you can then add it to your Office 365 account and set it as the default domain for your organization.
Log in to your Office 365 admin center and click on “Settings” and then the “Domains” tab:

Click on the “Add domain” button and enter the desired custom domain name:

Follow the on-screen instructions to verify your domain. This usually involves adding a specific record to your domain’s DNS records:

Once your domain has been verified, you can set it as the default domain for your organization by going to the “Domains” page and clicking the “Make default” button next to your domain. Once the domain is verified, add and configure the necessary DNS records for email, websites, and other services provided by Office 365.
Then, you can then start using your custom domain for your Office 365 email addresses and other services.
Repeat the steps for any additional custom domains you want to add.

Leave A Comment?